Diary
of a 60 hours of Wheel Restoration and Garage Therapy by a Mad Irishman!!.
Page last updated
March 28, 2012
All this could be avoided by sending off and having them sand blasted Black powder coated then machined at the front.
Cost about £65-£75 a wheel and will give an as new look.
However going down
the long road gives great satisfaction and a finish that still leaves an element
of patina that milling would remove.
And looks great.
Cost today (2012) about £100 for the following.
MATERIALS USED
Wire wool 2 grades
Wet and dry sand paper
Paint stripper 1 tin
Sanding attachments for drill
Wire brushes for drill
Metal polish 2 tubes used
Spray Paint undercoat 2 tins
Spray Paint Gloss 2 tins
Hamerite Smooth for T slots small tin.
Hamerite Shinners.
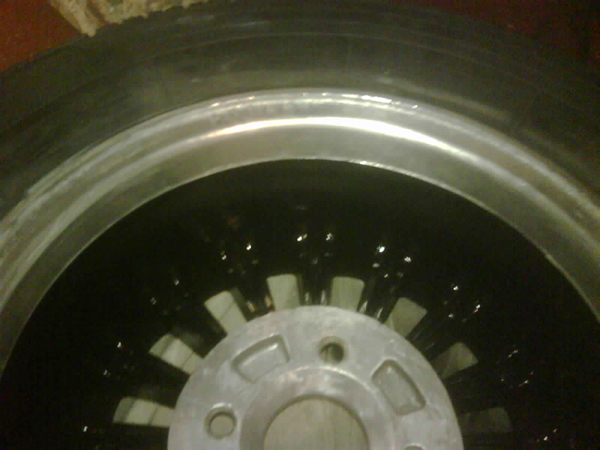
Beginning with 5 wheels that from a distance looked ok but where rather tired
and corroded.
Stage 1
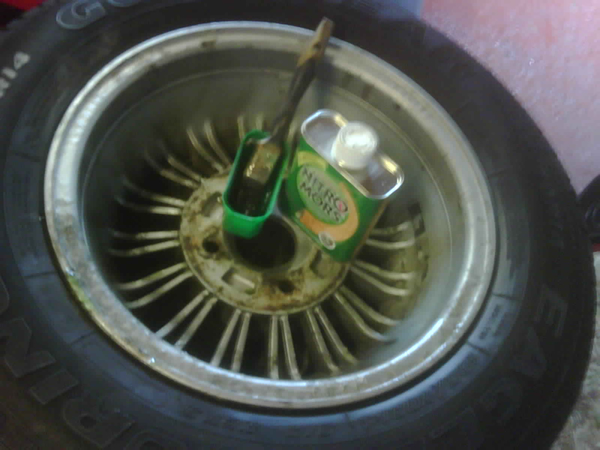
Stage one was to remove all the paint from the T slots as they had been painted 3 or 4 times even once in Red and where chipped and tired and flaking.
Using a sharp small screwdriver and some paint stripper and finally a worn wire attachment as a new one would also scratch the surrounding alloy.
This is a slow process but very therapeutic and rewarding as it gives a great finish when finally re painting as the definition of the T slot is lost somewhat if you have too much paint in the slots.
Stage 2
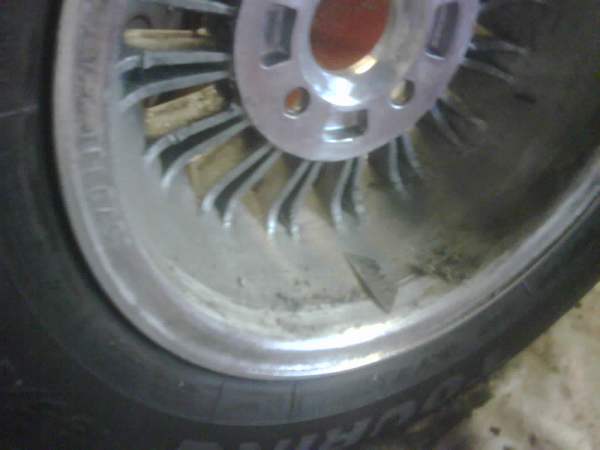
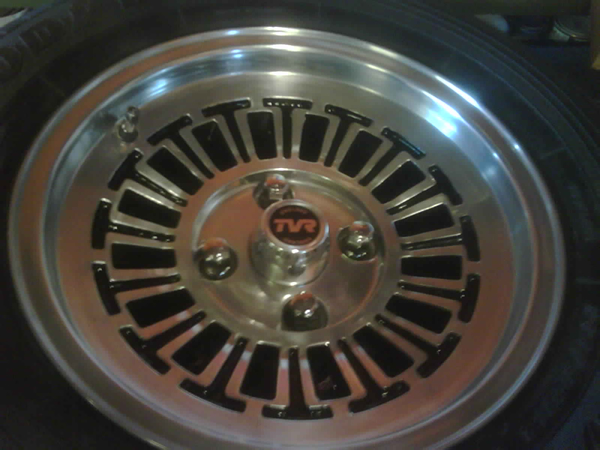
Following that I addressed the blemishes and scratches on the fronts.
I used wet and dry to sand out any scratches and knocks.
Following that using Metal Polish firstly with very fine wire wool then with
the polishing wheel on the drill. This gave a pleasant finish without them looking
like a mirror which I thought would not look right on the car.
Stage 3
The alloy centre pieces where dull and had bashes and scratches and the TVR badges where faded chipped and shrunk plus they where previously lackered which was peeling

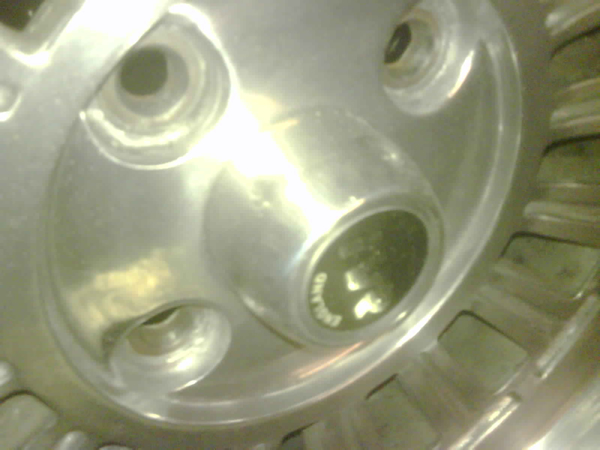
However using fine
wire wool and elbow grease and then metal polish and polishing wheel these came
up well and as they are alloy was not hard to push out knocks and sand out blemishes
before polishing.
Then a new set of Black/silver stickers as original now made by Adrian Ven at
Exactly TVR.
Also New wheel nuts as the originals had well and truly seen better days.
Stage 4
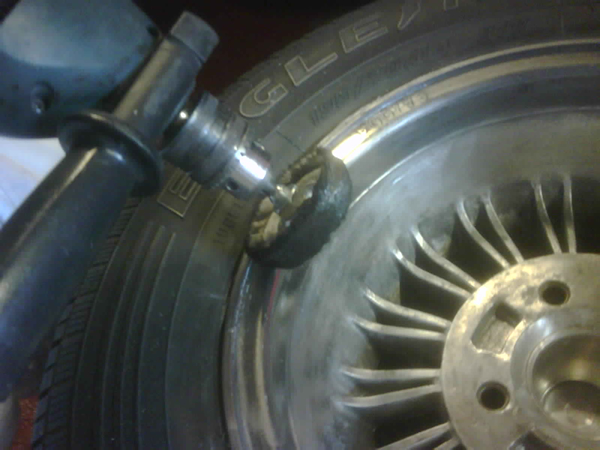
The back of the Wheels where another story I guess it was over the years out of sight out of mind!
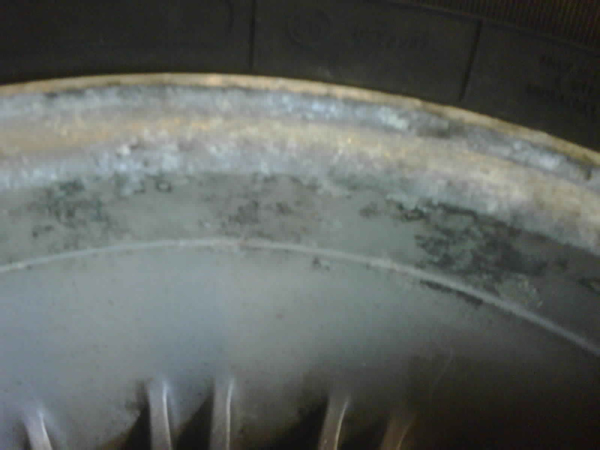
However using a
sanding attachment and wire brush wheel and paint stripper about 3 old coats
of paint I took it back to the alloy.
This process could be simplified with sand or glass blasting but I needed the
therapy?.
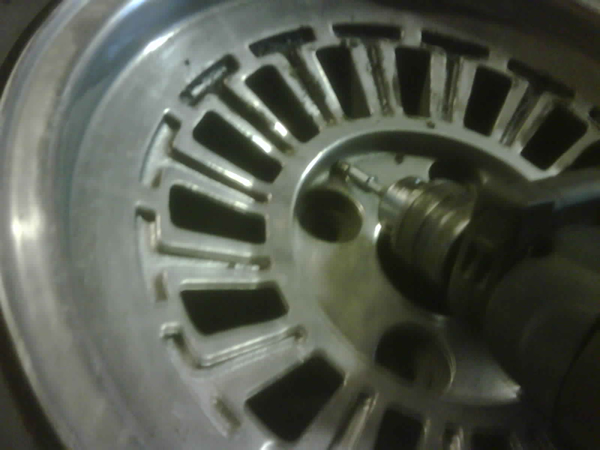
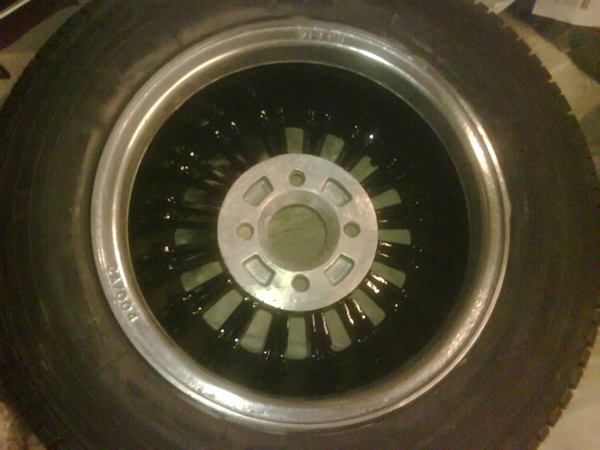
Unlike the front which was originally milled after casting the rear is rough cast with a smoother cast finish on the outer back rim.
This left me with the Question should they be sprayed silver or black as there are no pictures around that show the back original finish of the T Slots.
After a few calls to various experts the common consensus was they should be black.
Looking at the
back the smooth cast area near the outer rim I decided to clean and polish and
the rear centre piece as well as any paint would only crack as soon as the wheels
are fitted to the car.
Hence I masked these areas to just paint the areas in between those areas.
Stage 5
Having masked up the backs.
3 light coats of alloy wheel paint primer.
Then knock back with wet and dry before 4 light coats of gloss black alloy wheel
paint.
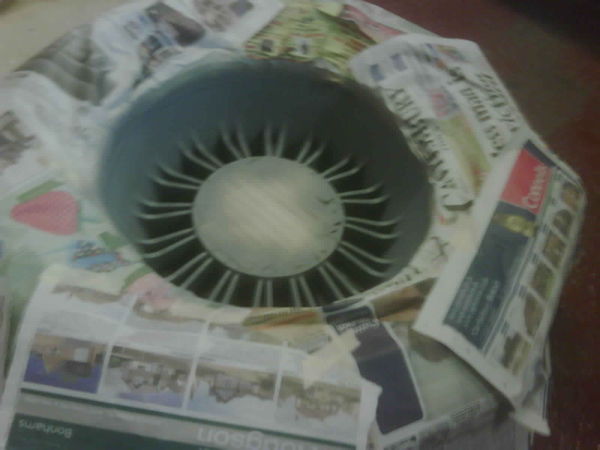
Stage 6
Using an Artists Brush re paint the T Slots carefully building up 3 light coats.
Don't worry if
you don't have a steady hand as any paint that comes over the edge can be gently
scraped off with a blunt blade once fully dry.
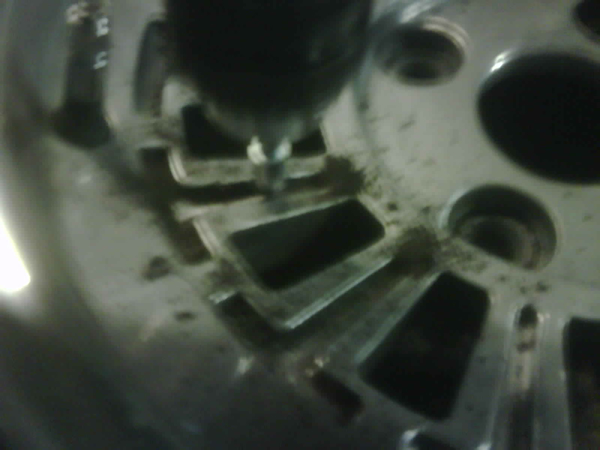
As the T slots are rough cast they take the paint well.
Insure they are fully de greased before painting.
Stage 7
Re balance wheels the smooth unpainted strip at the back is a great point to
add weights without them being seen and leaves the black area unmarked should
they need re doing at tyre changes.
Andrew